How To Hang Balloons On The Wall
How to Hang Balloons on the Wall - A Simple Guide
Making any gathering feel special, balloons truly bring a sense of fun and excitement to a room. They have a way of making people smile, whether it's for a birthday party, a holiday get-together, or just because you want to add some cheer to your living space. You know, just a little bit of color and shape can make a big difference in how a place feels, and balloons are pretty good at that, honestly. They are a simple thing, yet they make a noticeable impact on the look of an area, which is really something to consider.
It's almost like they just float there, waiting to brighten up your space, so getting them to stay put on a wall, that can feel like a bit of a trick. You might wonder how to get them to stick without causing any damage, or how to make them look like they are just part of the room's natural decorations. There are, in fact, several ways to go about this, and some methods work better than others depending on what kind of wall you have and what kind of balloons you are working with. We're going to explore some ideas that help keep those balloons right where you want them, giving your room a very festive look, or maybe just a bit more personality.
We'll talk about how to get those colorful spheres to stick just where you want them, making your party setup look just right, very easy to do. This means going over the things you'll need, how to get your wall ready, and the different ways you can attach the balloons. You'll find that with a few simple items and a little bit of know-how, you can create a display that everyone will enjoy looking at. It's about making your space feel inviting and happy, and balloons are a great tool for that, in a way, giving a visual pop that really grabs attention.
- Male Movie Character Names
- Lindsay Lohan Tattoo
- Applebees Grill And Bar Augusta Menu
- Why Does My Dog Poop On The Couch
- Maura Murray Father
Table of Contents
- What Do You Need to Hang Balloons?
- Getting Ready to Hang Balloons on the Wall
- How Do You Prepare Your Wall for Balloons?
- Different Ways to Attach Balloons to the Wall
- Tips for a Long-Lasting Balloon Display
- What About Taking Down Your Balloon Decorations?
- Common Problems When Hanging Balloons on the Wall
- Creative Ideas for Hanging Balloons on the Wall
What Do You Need to Hang Balloons?
When you're thinking about putting balloons up on a wall, the first thing to consider is what tools and materials will help you do that job well. You don't want to start and then realize you're missing something important. It's a bit like getting ready to make a special meal; you gather all your ingredients first, so you're not running around looking for things in the middle of cooking. Having everything ready before you begin can save you a lot of time and a little bit of frustration, which is really helpful, honestly. So, let's look at the things that will make this process a lot smoother for you.
Gathering Your Supplies for Hanging Balloons
To begin, you'll want to have your balloons ready, of course, inflated to the size you want them to be. Then, you'll need something to make them stick to the wall. There are a few options here, and each one has its own benefits, so you might choose based on what kind of wall you have or how long you want the balloons to stay up. For instance, some people like to use something that is quite gentle on paint, like removable adhesive dots or strips. These are pretty common and can be found in most stores that sell party things or office supplies, you know, they're quite versatile.
Another option, especially for lighter balloons or temporary displays, is painter's tape. This kind of tape is known for not pulling off paint when you remove it, which is a really good thing if you're worried about your walls. You can roll a small piece of it into a loop, with the sticky side out, and then press it onto the back of your balloon. Then, you just press the balloon onto the wall where you want it to be. This method is fairly simple and doesn't require a lot of special tools, which is nice, so it's a good starting point for many people.
For something that needs a bit more hold, especially if you're using larger balloons or want them to stay up for a longer time, you might consider something like fishing line or clear string. This is particularly useful if you're creating a balloon arch or a garland that you want to attach to the wall. You would typically tie the balloons onto the line, and then attach the line itself to the wall using small, clear adhesive hooks. These hooks are often designed to come off cleanly, too, which is very convenient. They provide a sturdy anchor point for your balloon creations, giving them a really polished look.
Finally, having a pair of scissors is usually a good idea, for cutting tape or string. A small step stool or a ladder can also be very helpful if you plan to place balloons higher up on the wall, so you can reach those spots without stretching too much. And, if you're working with many balloons, a hand pump or an electric inflator can save your breath and a lot of time, honestly. These items just make the whole process smoother, allowing you to focus on the fun part of decorating, which is the actual placement and design of your balloon display.
Getting Ready to Hang Balloons on the Wall
Before you start sticking balloons to surfaces, taking a moment to prepare can make a world of difference in how your finished display looks and how easy it is to put together. It's a bit like sketching out a drawing before you start painting; you get a better idea of where everything should go. This preparation phase helps you avoid common little problems that might pop up, like balloons not staying where you want them or your arrangement looking a bit uneven. So, let's talk about what you can do to get things just right before the balloons even touch the wall, which is, you know, pretty important for a good outcome.
Preparing Your Space for How to Hang Balloons
First, think about the area where you want to put your balloons. Is there enough space? What kind of surface are you working with? Knowing these things helps you choose the right method for attaching your balloons. For example, a smooth, painted wall might be fine for adhesive dots, but a textured brick wall might need something stronger, like hooks or string. You also want to clear away any furniture or items that might get in the way of your work. This gives you plenty of room to move around and place your balloons exactly where you envision them, which can make the whole process much less cramped and more enjoyable.
It's also a good idea to have a general plan for your balloon arrangement. Are you going for a scattered look, a specific shape, or maybe a balloon garland that stretches across the wall? You don't need a detailed blueprint, but a rough idea helps you figure out how many balloons you'll need and where the main anchor points will be. You could even use a pencil to lightly mark some spots on the wall where you want the balloons to go, especially if you're trying to create a pattern or a specific design. These marks can be easily erased later, so there's no harm in using them as guides. This step really helps you visualize the end result and adjust your plan as you go, which is quite helpful, you know, for getting the look you want.
Lastly, make sure the area is free from drafts or direct sunlight if possible. Balloons, especially those filled with air, can be sensitive to changes in temperature. A sudden gust of wind from an open window could cause them to shift or even pop, and direct sun can make them deflate faster or lose their color. While you can't always control the environment, being aware of these factors can help you choose the best spot for your display and maybe even adjust the timing of when you put them up. It's just a little thing, but it can make a difference in how long your balloon display looks its best, which is, you know, what you're aiming for.
How Do You Prepare Your Wall for Balloons?
Before you stick anything to your wall, taking a moment to get the surface ready is a small step that can prevent bigger issues later on. You wouldn't put a sticker on a dusty window and expect it to stay, would you? The same idea applies here. A clean surface helps whatever adhesive you're using to really grip, which means your balloons are more likely to stay put for as long as you want them to. This part is often overlooked, but it's pretty important for a lasting display, so, you know, it's worth a little bit of effort.
Checking Your Wall Before Hanging Balloons
First, give the wall a quick look. Is it clean? Are there any dusty spots or cobwebs? If so, a gentle wipe with a dry cloth or a slightly damp one can make a big difference. You don't want to use anything too wet, especially on painted walls, because that could cause problems with the paint itself. Just a light touch to remove any loose dust or grime is usually plenty. This simple action helps create a better surface for your adhesive, giving it something clean to hold onto, which is really what you need for a good stick.
Next, consider the type of paint on your wall. Some paints, especially those with a very matte finish or older paints, can be a bit more delicate. If you're unsure, you might test a small piece of your chosen adhesive in an inconspicuous spot, like behind a piece of furniture or in a corner that isn't easily seen. Leave it there for a few hours, or even overnight, and then gently peel it off. If it comes off cleanly without pulling paint or leaving a mark, you're probably good to go. This little test can save you a lot of worry later on, so it's a good habit to get into, especially if you're using something new, or you know, just being careful.
Also, think about the texture of your wall. Very bumpy or uneven surfaces can make it harder for flat adhesive strips or dots to get a good hold. In these cases, you might need to use a method that relies less on direct surface adhesion, such as string and small hooks, as mentioned earlier. These hooks can often find a better grip on a textured surface or even on the very top edge of a wall where it meets the ceiling. Knowing your wall's surface helps you pick the most effective way to attach your balloons, which is, you know, pretty key to success.
Finally, if you're planning a large display or something that will be up for a while, consider the room's temperature and humidity. Extreme heat or cold, or very high humidity, can affect how well adhesives stick and how long balloons stay inflated. While you can't always control the weather inside, being aware of these things means you can make choices that help your display last. For instance, if it's very humid, you might opt for stronger adhesive options or check your balloons more often. These small preparations really help set the stage for a successful and lasting balloon arrangement, giving you a bit more peace of mind, too.
Different Ways to Attach Balloons to the Wall
Once you have your balloons inflated and your wall ready, the next step is actually getting them to stay put. There are a few common ways people do this, and the best choice often depends on what kind of balloons you have, how long you want them to stay up, and what kind of surface you are working with. It's a bit like choosing the right tool for a job; some tools work better for certain tasks than others. Knowing your options means you can pick the method that gives you the best results without causing any trouble for your walls, which is, you know, pretty important for a smooth process.
Choosing the Right Method for How to Hang Balloons
One very popular and often recommended way to attach balloons is by using removable adhesive dots or strips. These are specifically designed to stick well but also to come off cleanly without leaving residue or damaging paint. You simply peel one side of the dot or strip, press it firmly onto the back of the balloon, usually near the knot or a flat part, then peel the other side and press the balloon onto the wall. They come in different strengths, so you can choose a lighter one for small, air-filled balloons and a stronger one for bigger foil balloons. This method is very straightforward and generally safe for most wall surfaces, so it's a good first choice for many people.
Another common approach involves painter's tape. This tape is known for being gentle on surfaces. To use it, you can take a small piece, about an inch or two long, and roll it into a loop with the sticky side facing out. Then, press this loop onto the back of your balloon. Once the loop is attached to the balloon, you can press the balloon firmly against the wall. This works well for lighter balloons and temporary displays. The key is to use enough tape to hold the balloon but not so much that it becomes hard to remove later. It's a simple, low-cost option that many people have on hand, which is, you know, pretty convenient.
For creating more elaborate balloon arrangements, like arches or garlands, clear fishing line or a thin, strong string can be very useful. You would typically tie your balloons onto this line, creating a long chain of balloons. Then, you can attach this entire chain to the wall using small, clear adhesive hooks. These hooks stick to the wall and provide a place to loop or tie the fishing line. This method distributes the weight of the balloons more evenly, which can be better for large displays and helps prevent individual balloons from falling off. It gives your balloon setup a really neat and professional appearance, which is, you know, quite pleasing to the eye.
If you're dealing with very light balloons or want a truly temporary solution, static electricity can sometimes work. If you rub an inflated balloon vigorously against your hair or a wool sweater, it can build up a static charge that will allow it to stick to a clean, smooth wall for a short time. This is more of a fun trick than a reliable method for a long-lasting display, but it's worth knowing about for a quick bit of fun. For anything that needs to stay up for more than a few minutes, though, you'll want to stick to the adhesive options. So, you have quite a few choices depending on what you're trying to achieve, which is really good.
Tips for a Long-Lasting Balloon Display
You've put in the effort to get your balloons up on the wall, and now you want them to stay looking good for as long as possible. Nobody wants their beautiful display to start sagging or falling down halfway through a party. There are a few things you can do to help your balloons stay put and keep their fresh, festive look for an extended period. It's about giving them the best chance to hold their shape and position, which is, you know, pretty important for a successful decoration.
Keeping Your Wall Balloons Looking Great
One key thing is to make sure the balloons are inflated properly. If they are under-inflated, they might look a bit sad and won't hold their shape as well. If they are over-inflated, they are more likely to pop, especially if the temperature changes. A balloon that is firm but still has a little bit of give when you gently squeeze it is usually just right. This helps them maintain their round or intended shape and puts less stress on the adhesive holding them to the wall. So, getting the inflation just right is a pretty big deal for how long they last.
Consider the environment where your balloons are placed. Extreme temperatures, both hot and cold, can affect balloons. Very warm rooms can cause the air inside balloons to expand, making them more likely to pop. Cold rooms can make them shrink a bit, making them look deflated. Direct sunlight is also a bit of a problem, as it can cause balloons to oxidize and lose their shine, making them look cloudy faster. If possible, choose a spot on the wall that isn't in direct sunlight or near a heating vent or air conditioner. This helps keep them looking their best for a longer stretch of time, which is, you know, pretty helpful for keeping the party going.
When you're attaching the balloons, use enough adhesive for the size and weight of the balloon. A small dot might be fine for a tiny balloon, but a larger one might need two or three dots, or a longer strip, to really hold it securely. Press firmly when you attach the balloon to the wall, making sure the adhesive makes good contact with both the balloon and the wall surface. This ensures a strong bond from the start, reducing the chances of them peeling off later. It's a small detail, but it makes a significant difference in how well your balloons stay up, which is, you know, pretty much the goal.
If you're creating a large display, like a balloon garland, distributing the weight evenly can help. Instead of relying on just one or two attachment points, use several hooks or adhesive strips along the length of the garland. This spreads the load and reduces the strain on any single point, making the whole structure more stable. You can also use a combination of methods, for instance, using fishing line for the main structure and then a few adhesive dots to position individual balloons exactly where you want them within the display. This layered approach often gives the most secure and lasting results, which is, you know, pretty clever for a big setup.
What About Taking Down Your Balloon Decorations?
After all the fun and festivities, there comes a time when your balloon decorations need to come down. Just as putting them up carefully helps them last, taking them down with a bit of thought can help protect your walls and make cleanup easier. You don't want to pull off paint or leave sticky marks behind, so a gentle approach is usually best. It's about finishing the job cleanly, which is, you know, pretty satisfying after all your hard work.
Removing Balloons from the Wall Gently
When it's time to remove the balloons, the key is to go slowly and gently. If you used removable adhesive dots or strips, many brands suggest pulling the strip slowly downwards, parallel to the wall, rather than pulling it straight out. This technique helps release the adhesive bond without putting too much stress on the wall's surface or the paint. If you just yank them off, you run a higher risk of damaging the wall, which is something you definitely want to avoid. So, a steady, deliberate motion is usually the way to go here.
For balloons attached with painter's tape, you can usually just peel the tape off the wall. Painter's tape is designed to be low-tack and to remove cleanly, so it's generally very safe for painted surfaces. Again, a slow and steady pull is better than a quick rip. If you find any small bits of tape residue, sometimes a soft cloth with a tiny bit of warm, soapy water can help, but usually, painter's tape comes off without any fuss. It's a pretty reliable option for easy removal, which is, you know, very convenient.
If you used clear adhesive hooks for a balloon garland or string, simply unhook the string from the hooks first. Then, remove the hooks themselves following the manufacturer's instructions. Many of these hooks have a pull tab that you stretch downwards, which releases the adhesive cleanly from the wall. This method is usually quite effective and leaves no trace behind, which is, you know, a really nice feature for keeping your walls looking good. It's all about respecting the surface you're working with.
After you've removed all the balloons and adhesive, take a moment to look over your wall. If there's any slight residue, sometimes a gentle rub with a clean, dry cloth is enough to remove it. For more stubborn spots, a very mild all
- Instagram Gracie Abrams Aesthetic
- Mothers Day Mother In Law
- Paris Parting Words
- Crane Anatomy
- How To Make A Book On Minecraft

Balloons walls | Art balloons GR

Premium Photo | A wall with balloons and a wall with a wall that says
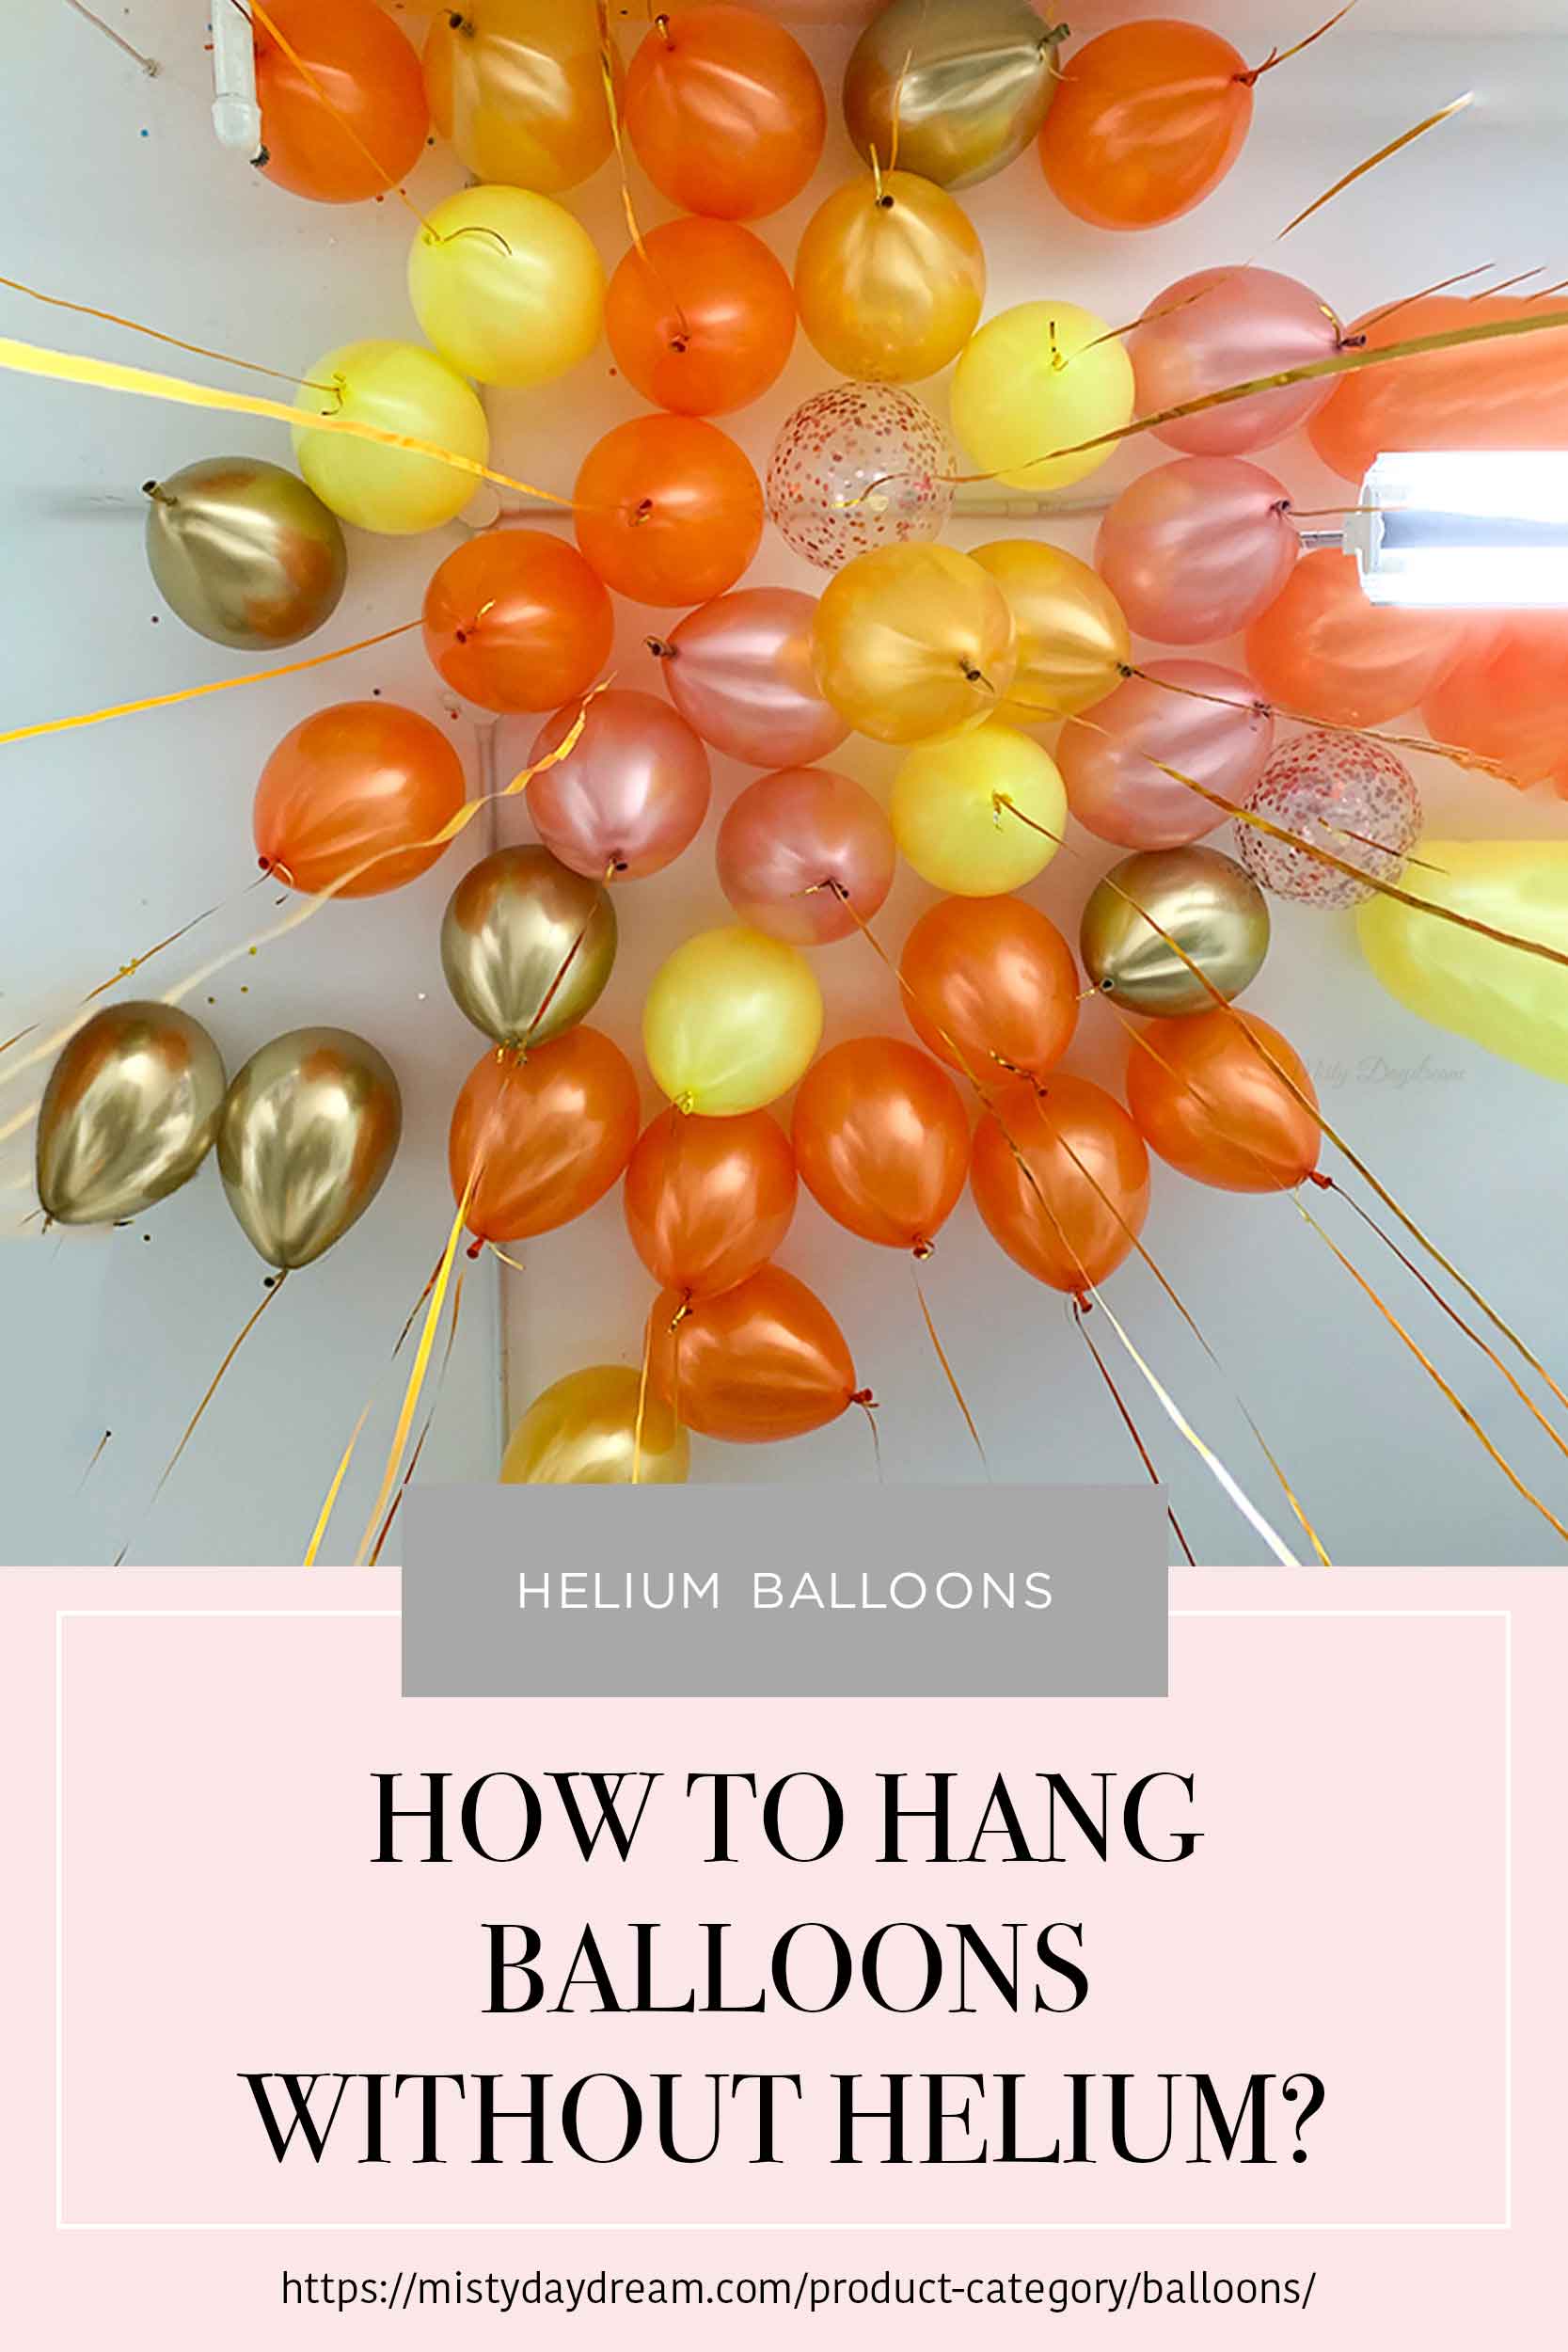
How to hang Balloons without Helium? - Misty Daydream
